Showing posts with label hearts. Show all posts

Friday, February 5, 2016

Valentines Day Party Ideas

Valentine's Day is almost here! If you need some inspiration, here are cute some party ideas:
Last year I made some romantic fortune cookie snacks out of fruit roll ups. Just cut circles out of the sheet of fruit roll up and fold in half, bend the middle part and you have a fortune cookie shape. Fold it around a little message for good measure ;)
I made a little heart shaped cover for the lens on my camera out of black construction paper and taped it around the lens. Then wandered around the party snapping photos of all the sweet couples..

like these guys..
..and these two

Tuesday, February 3, 2015

DIY Valentines Day garlands

I love decorating for Valentine's Day- it's one of my favorite holidays. Maybe that's because of the lovely colors involved (PINK!).
So I made some pretty heart streamers for the windows. They were really easy : just cut out a bunch of pink paper hearts and sew them down the middle, leaving a length of thread in between each one.

But the letter garland is my favorite so far! I saw something similar on Pinterest.com and decided to make one of my own.
You just fold up some paper into envelopes and decorate them. Then I used some thread to string them together. Mine was made quite small scale but you could certainly  go big!

Have Fun!

Saturday, January 10, 2015

Love is King (and Queen!) Easy DIY Valentines crowns from Toilet paper rolls

These are so pretty! and a great way to use up those tp rolls.. I hate just throwing them out so it's nice to come up with new ways to use them!

I actually recycled some wrapping paper from Christmas presents to cover the crowns too! Just glue it on, cut the crown shape and glue decorations on them!
You could put little holes in the side and stretchy strng to make them wearable. How cute would that be?!?!?!

Friday, April 18, 2014

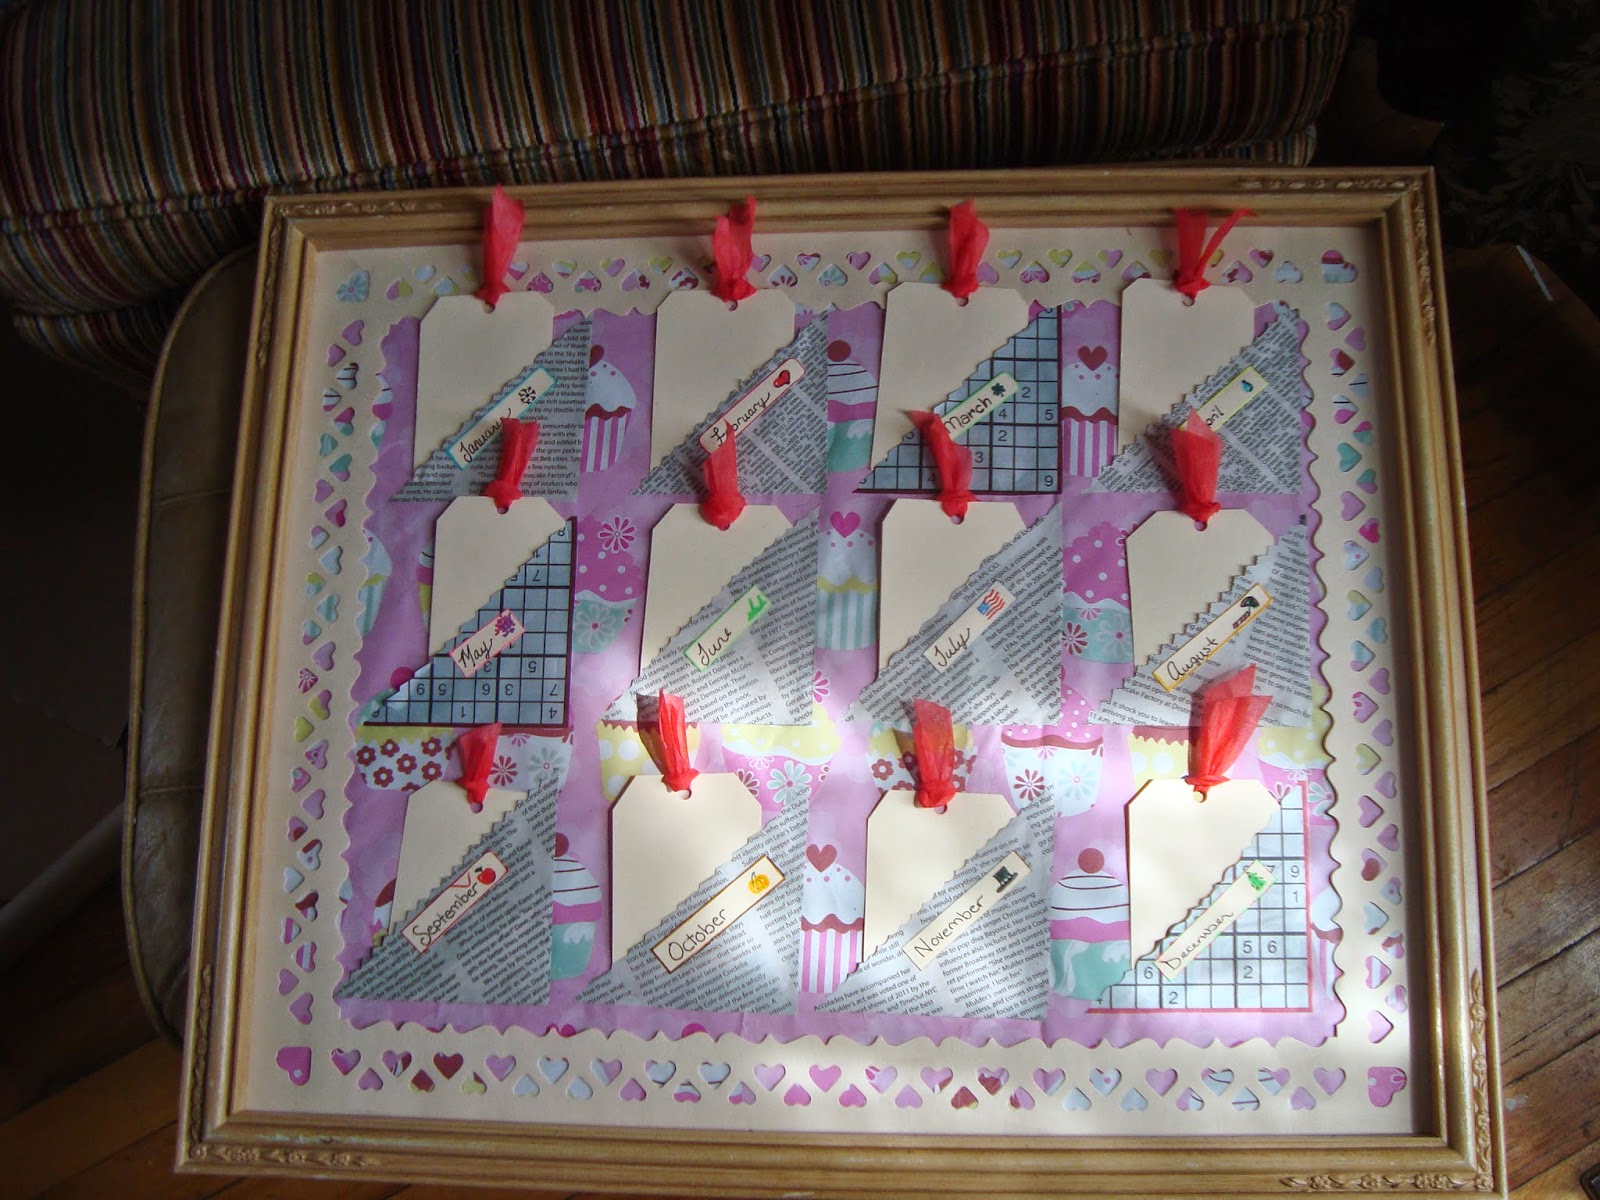
DIY Birthday Board ~Never forget a Birthday!

Found this fantastic frame at the Flea Market and knew I could use it for something! It even came with that pretty heart border~ what a steal!

I go gaga over details like this!

So I took everything out of the frame. The picture was on a piece of cardboard that I covered with some wrapping paper.

Now to use my other flea market find...decorative edge scissors (all four for $2!!!). Next, I cut out 6 squares 4"x4" ( I determined the size by the dimensions of my frame with the heart border in place, 16x12. Before cutting, figure out what size yours should be and how you want them positioned, etc). I used the decorative shears to cut each square in half diagonally.

Then I positioned them on the board like pockets and put glue just along the two edges ( the horizontal and the vertical edges). This way they are open on the diagonal so you can use it as a pocket!

Now for some tags! I cut my tags out of cardstock using a ruler as a straight edge (well, and to measure too). My tags are 2.5"x3.5". Punch holes in the tops and tie a cute ribbon through each one.

The tags fit in to the pockets. Each  pocket is a month of the year, so label the days on the tags and write in the birthdays of your loved ones.


Oh! I almost forgot! Make little cute labels for each month and glue onto the corresponding pocket. I used leftovers pieces of cardstock from making the tags and some markers.

Monday, March 12, 2012

A Love-ly Breakfast

This is a romantic twist on an old stand by. You remember the classic egg inside the bread thing, right?

Well, this time the hole is heart shaped <3

In case you've never done this before, all you do is:
cut out a hole in the middle of a slice of bread,
melt butter in a frying pan,
place bread in pan,
crack egg into hole
and fry it up!

I even fry the holes! MMMM, fried bread is so yummy!

You can also sprinkle salt and pepper over the egg so it gets cooked in.

A sweet breakfast for your Honey(s).

Thursday, February 2, 2012

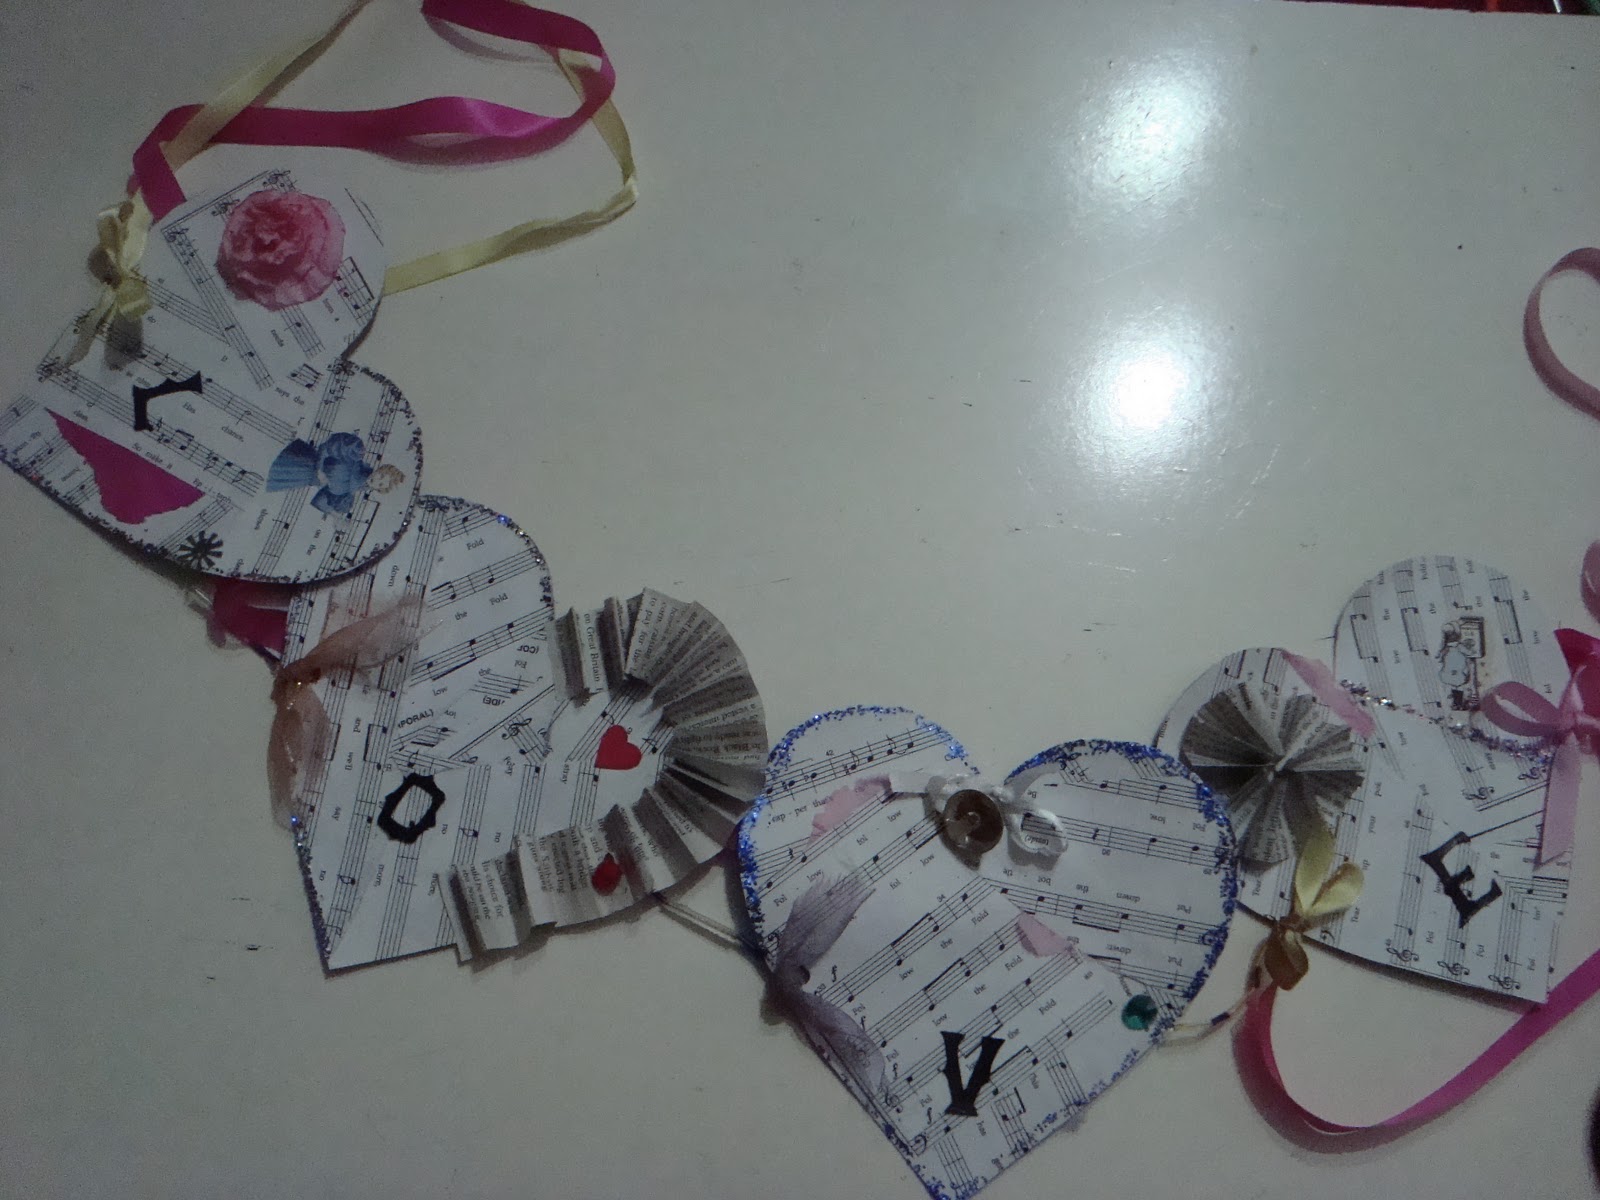
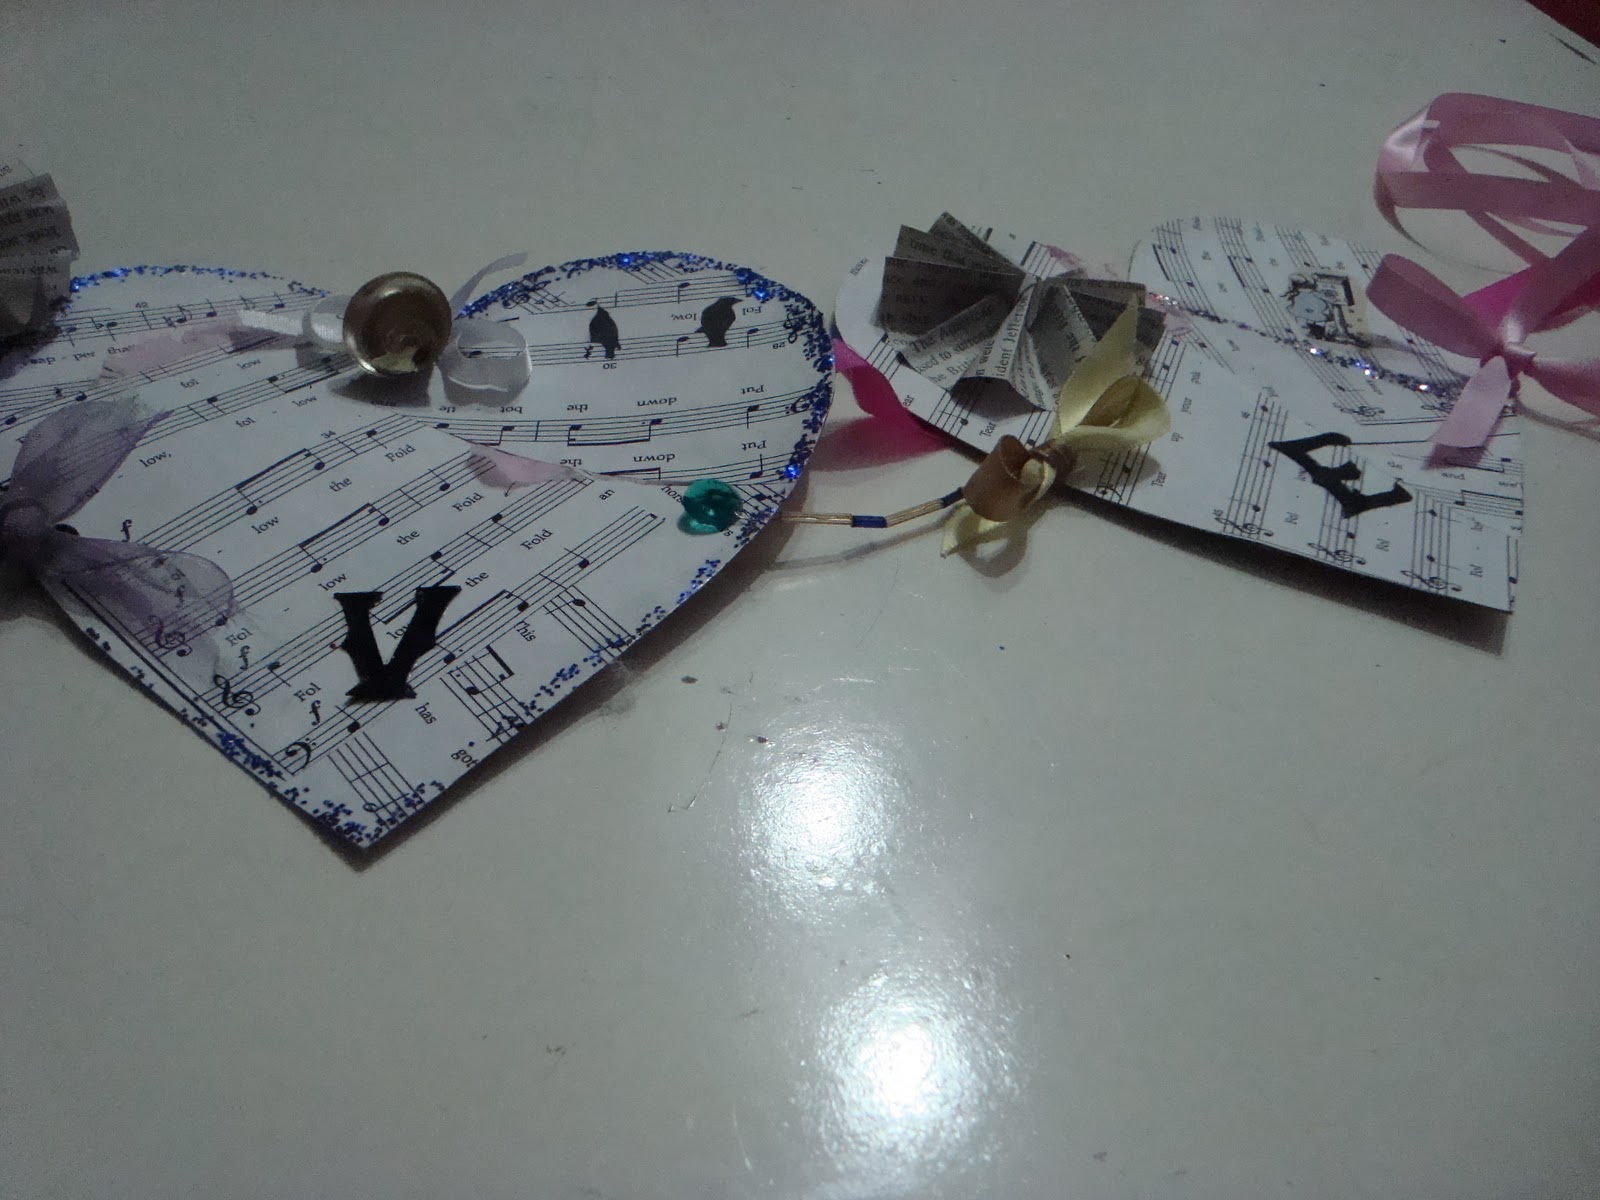
Shabby Chic Banner of Love

This week I've been working on this love-ly banner for Valentine's Day, get it? lol.
How pretty this could be hanging across a mantel or in a window!

I cut 4 hearts out of a thin cardboard- cereal boxes would work.

Then covered them with music papers. As you can see, I stuck some torn bits of tissue paper in along the edges of some of the pieces.

The letters were drawn on to the extra cardboard (pretty good for freehand, huh?) and cut out with that red cutter-majig(try googling that 5 times fast!) tool in the picture. Paint them black and they're ready to go!

Accordion folds! Ribbon scraps!

I love the gorgeous tissue paper carnation on the "L" heart. Hmmm..could be an awesome tutorial coming soon!

These hearts have been glitter bombed! I punched a hole in the top so I could tie the mini bell on the "V"


The newspaper pinwheels were a nice touch. Another tutorial possibility...What do you think?
Related Posts Plugin for WordPress, Blogger...