Showing posts with label recycle. Show all posts

Saturday, October 22, 2016

The Butler Snapped His Fingers

Here Is my new Butler! I just love him so much! What should I name him??

I made him last night with a big sheet of cardboard and my craft paints. My utility knife freed him from the flat world of the cardboard and some heavy duty tape secured him to my fireplace.

He's not very good at being a butler...but he sure looks the part!

Friday, August 7, 2015

Handmade Anniversary Card with Repurposed Rose Petals!

This is such a cool idea! Save your flower petals from a memorable bouquet from your Honey, dry and press them and then use them to make a heart for a card or scrapbook page!

I'm super impressed with myself right now.

Always gotta stay goofy!

Saturday, December 20, 2014

Easy DIY Christmas Decorations with Garland

Here are some easy DIY Christmas decorations!
The tree is just a Styrofoam cone (but you could use poster board shaped into a cone) wrapped with garland and the ends were secured by tucking them in so I can unwrap it after Christmas and decorate it differently for another holiday. No sense in having a million cones in my basement between holidays, right?
This is a great idea for those of us who aren't professional wreath makers!
I grabbed an old picture frame (mine happened to have cross bars that look like window panes!) and wrapped it with garland. It hangs cheerfully on my front door. You could even put a winter scene behind it so it does look like a window!

Monday, December 15, 2014

Santa Bottles. DIY Recycle Craft for Christmas!

Aren't These great?!
Use them as vases, centerpieces, or even gifts!
Finally a use for all those accumulating wine bottles from my parties :)
I removed the labels first by soaking in hot water with some dish soap.
Once they are completely dry, you can spray paint them red. When that is dry, I taped off the outer lines of the belt and painted with black acrylic paint.
The buckles are some adhesive rhinestones that I found at Michaels for $1!!


Friday, July 18, 2014

Make your own Minions!

But first, look at what I grew!!! The first rose on my rosebush this year!

Toilet paper roll minions
Ok, now to the business of minion making.
All you need is a toilet paper roll, construction paper, scissors, a black marker, and glue.
Cover the roll in yellow paper (use glue to attach it, but you knew that!).

Toilet paper roll minions
Cut out this shape long enough to wrap all the way around the roll. Use blue paper so it looks like jeans.

Toilet paper roll minions
Glue on the clothes and draw on a face and pockets.

Toilet paper roll minions
Oh my gosh! but isn't he cute?!
You could make a little army of these guys!

Friday, April 18, 2014

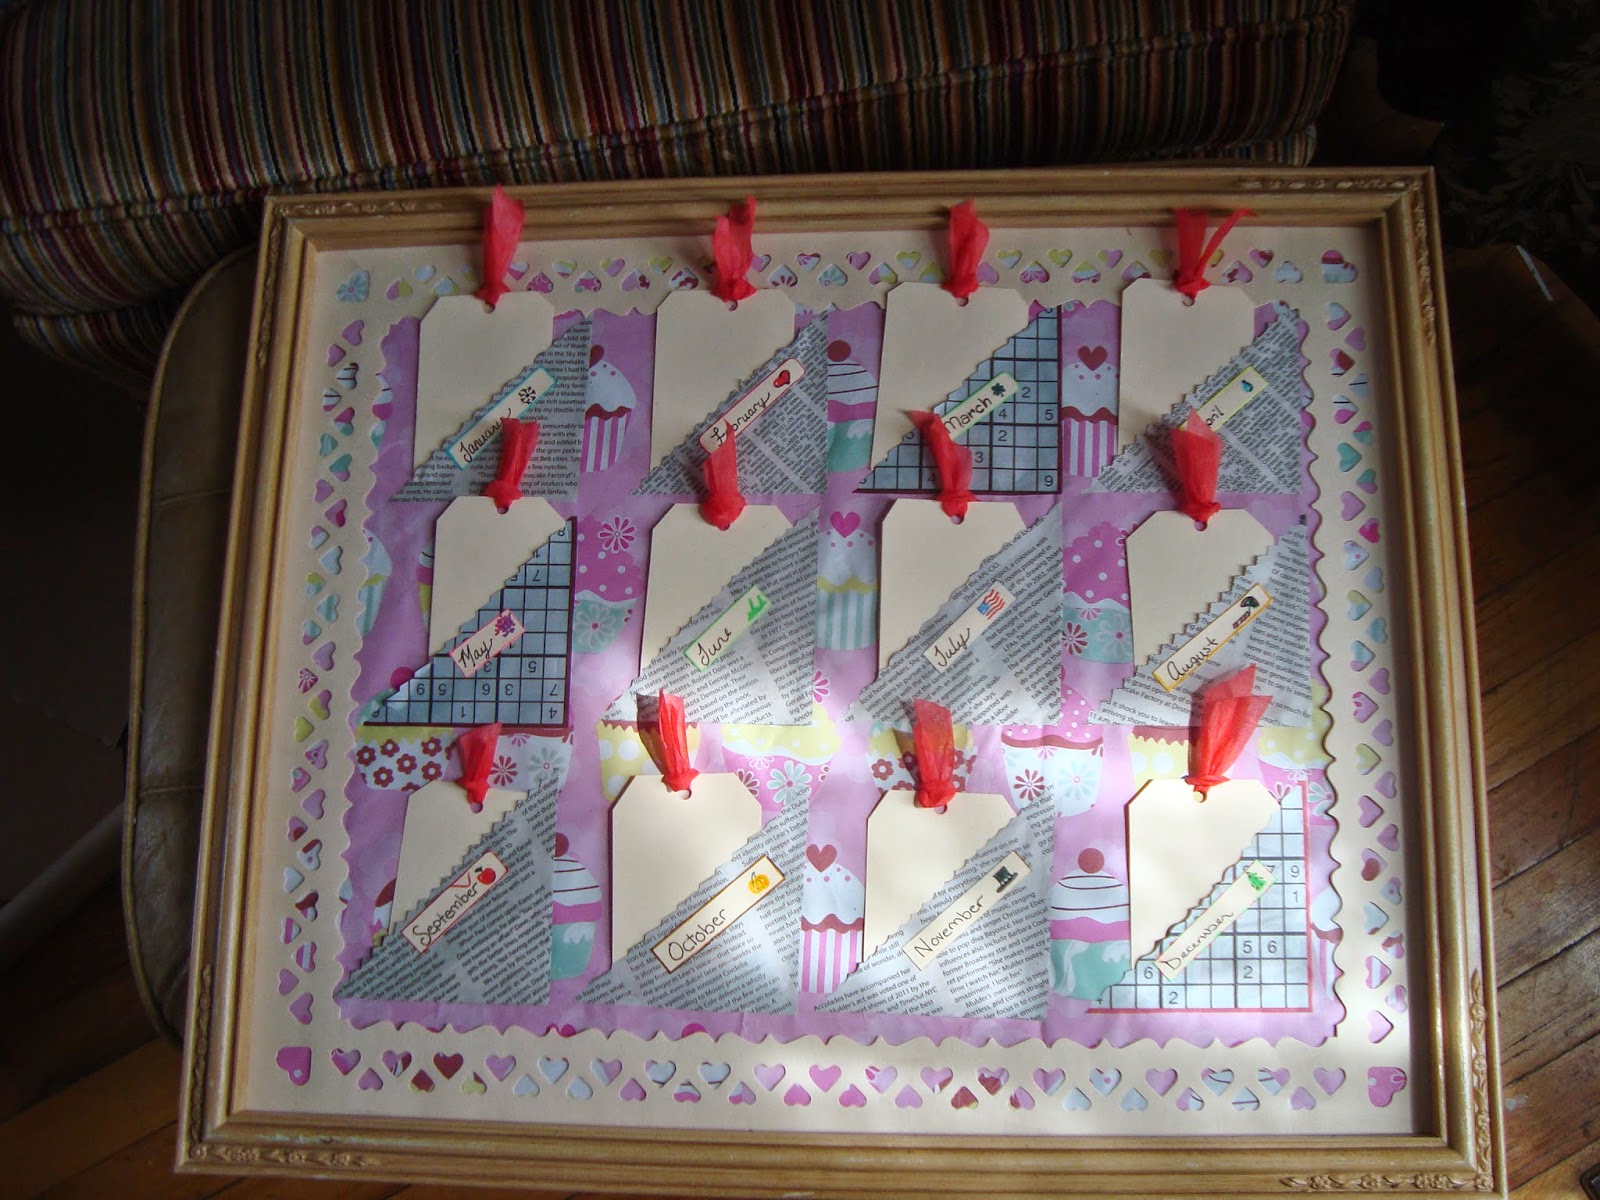
DIY Birthday Board ~Never forget a Birthday!

Found this fantastic frame at the Flea Market and knew I could use it for something! It even came with that pretty heart border~ what a steal!

I go gaga over details like this!

So I took everything out of the frame. The picture was on a piece of cardboard that I covered with some wrapping paper.

Now to use my other flea market find...decorative edge scissors (all four for $2!!!). Next, I cut out 6 squares 4"x4" ( I determined the size by the dimensions of my frame with the heart border in place, 16x12. Before cutting, figure out what size yours should be and how you want them positioned, etc). I used the decorative shears to cut each square in half diagonally.

Then I positioned them on the board like pockets and put glue just along the two edges ( the horizontal and the vertical edges). This way they are open on the diagonal so you can use it as a pocket!

Now for some tags! I cut my tags out of cardstock using a ruler as a straight edge (well, and to measure too). My tags are 2.5"x3.5". Punch holes in the tops and tie a cute ribbon through each one.

The tags fit in to the pockets. Each  pocket is a month of the year, so label the days on the tags and write in the birthdays of your loved ones.


Oh! I almost forgot! Make little cute labels for each month and glue onto the corresponding pocket. I used leftovers pieces of cardstock from making the tags and some markers.

Friday, July 5, 2013

Patriotic Baseballs for a Festive Centerpiece

This is a project for those old baseballs. Mine was an old Red Wings ball.
I started by tracing 3 sizes (big, medium, tiny) of stars on the middle section.
Then I painted the background blue, carefully leaving the stars white.


As you've probably already guessed, the next step is to paint red and white stripes on the unpainted section.

I found it helpful to draw the lines before painting.

It looks great! Imagine a bunch of these in a bowl. Bam! Patriotic centerpiece.


Thursday, December 27, 2012

Make your Own Giftbags!

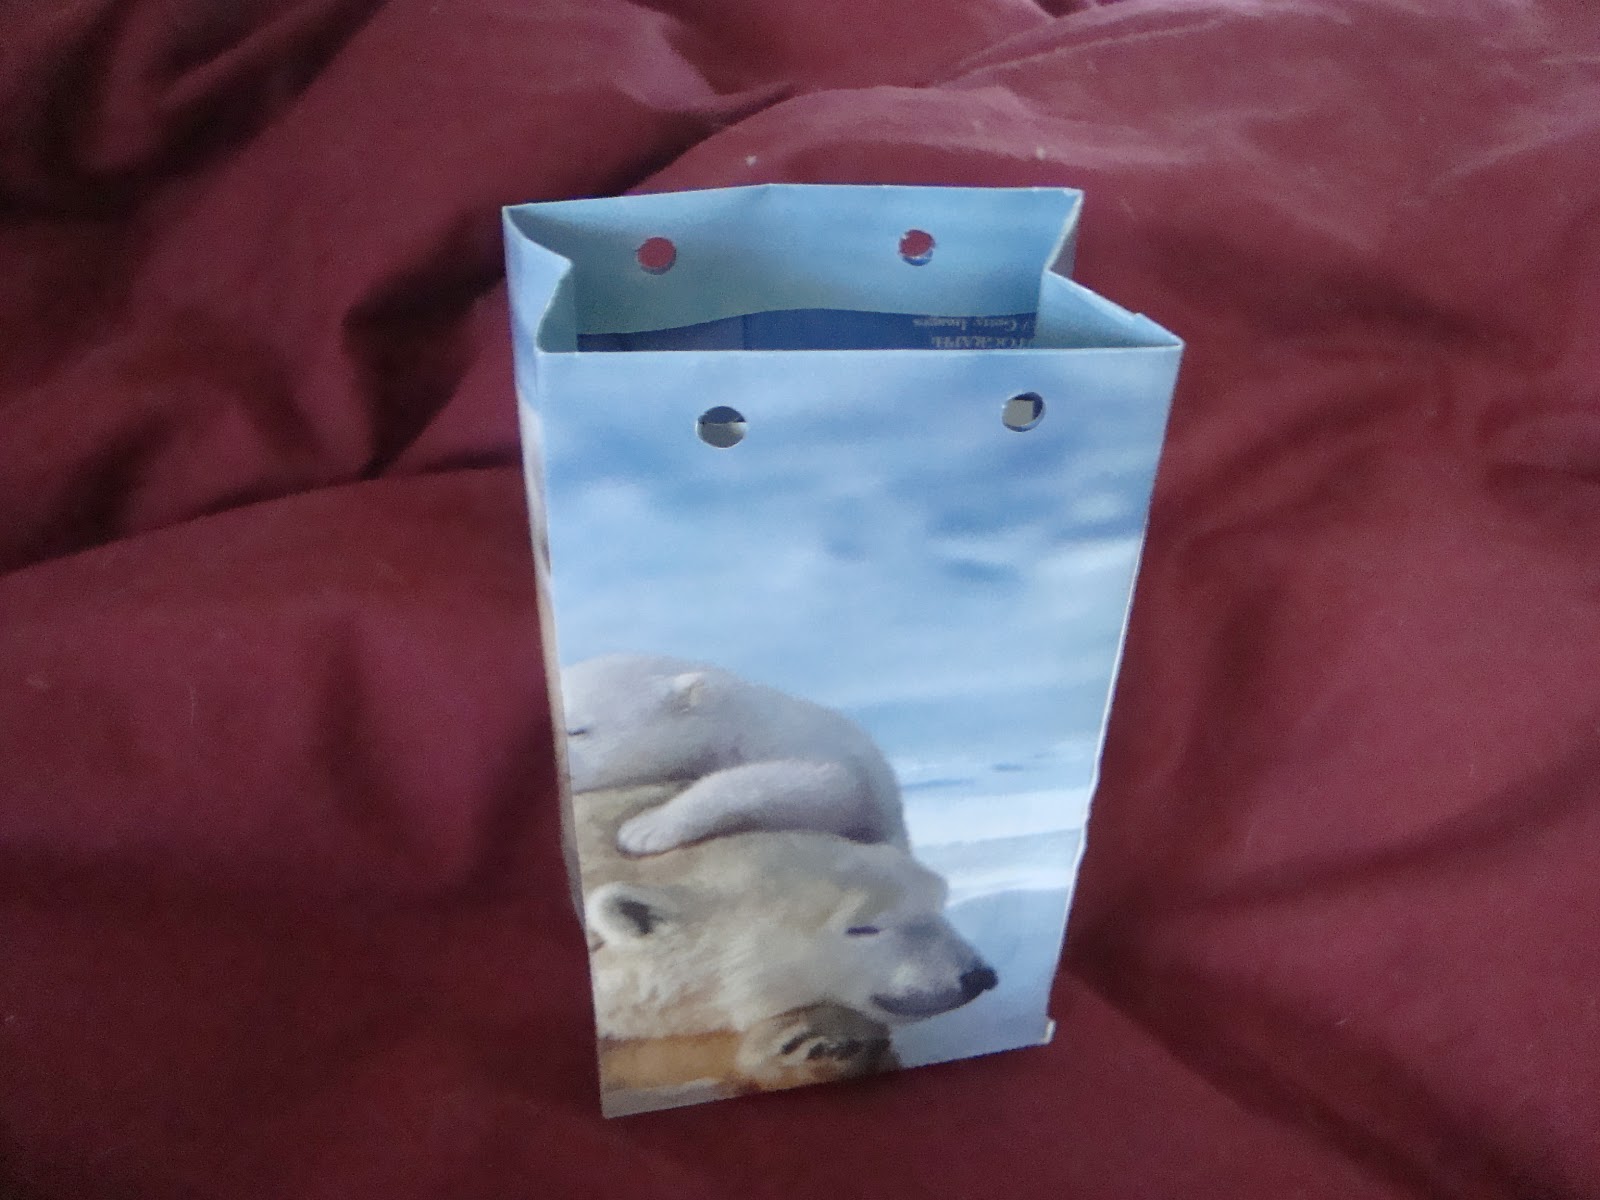
Here's a purposeful repurpose for old calendars with beautiful pictures. Make them into gift bags for Christmas, birthdays, and other gift giving occasions!

I made a pattern that can be adjusted for the size of your calendar page.
Just draw it out on scrap paper first to make sure all the measurements work then cut out on the solid lines and crease on the dotted ones.

You'll want to fold the top section down first. Then glue the side flap so you have a rectangle.
Next, glue the bottom flaps to each other with the bottom side flaps tucked inside the bag.

Then, you'll need to punch two sets of holes in the top flap that was folded over in the first step.

I used shoelaces to make the handles but you can use whatever you like (yarn, cord, etc).
 Just tie the end like starting to tie shoes and string the rest through and knot the other end.
Try to make sure the handles are the same length.

This bag was pretty small but if you use more than one page and alter the pattern, you can make larger bags too!

Mike's Christmas coasters I made getting some use already!

There will be more Christmas posts to come including eggnog for breakfast recipes!!

Thursday, October 25, 2012

Acorns for Halloween

Here's a fun DIY Halloween craft to make from acorns.

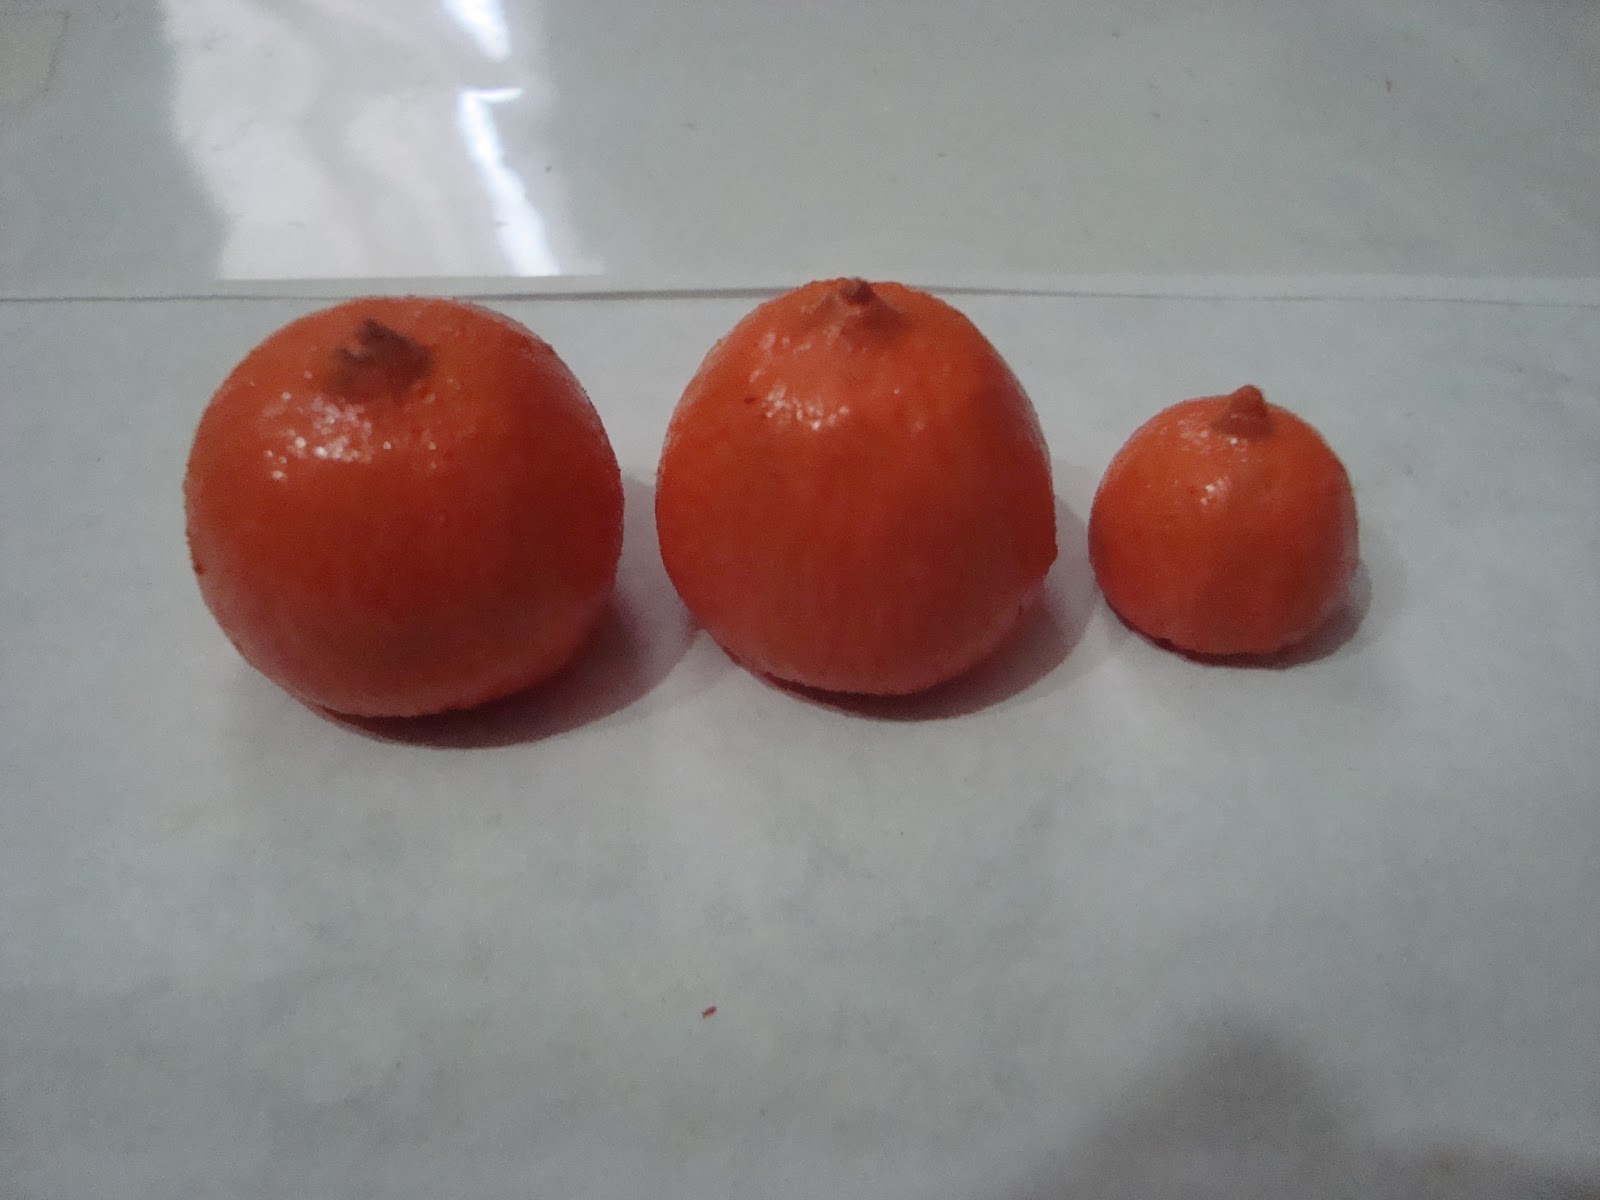
First, take off the tops and coat the nut with ModPodge.
Let dry and apply a second coat.

Next, paint them orange.
They already look like pumpkins!!

With a fine tipped brush, paint little Jack o Lantern faces on them.
OMGHOWCUTEISTHAT!!!!???
You could plant them all over the house, or dress up a dollhouse for Halloween, or put a bunch of them on display in a bowl...

Meanwhile, I will be carving my very first ever jack o lantern. GAH!! I'm so excited....:D
Happy Halloween all!

Friday, August 31, 2012

DIY Mint Skinny Jeans

As I was bumbling around on Pinterest this week, I discovered this fabulous idea from the girls at PrettyProvidence!
These colorful skinny jeans have been so popular this year!Now, you can get the look without shelling out gobs of cash. Sweet!
Here's the link to their how to:  
http://www.prettyprovidence.com/2012/04/style-for-song-diy-mint-jeans.html 
They even show you how to make regular jeans into skinny ones!

Wednesday, August 8, 2012

Wildly 80s T-Shirt Refashion on Whip It Up Wednesday!

Here's my fabulous T shirt's before picture. Gotta love that color!

The first cut is made. Cut off the top to make a sccop neck.

Cut the bottom hem of the shirt off and use to make straps. Just cut the straps 2 inches longer than you need them to  be.

Pin them on in place and try it on to make sure you like the length and placement of the straps.
I made one shorter than the other so it would hang at an angle.
Last step is to sew the straps in place using the extra inch  on each end of the strap as the part you sew.

Enjoy!

Thursday, August 2, 2012

DIY: Recycle Junk Mail!

As you all know by now, I love finding ways to recycle, reduse, reuse!

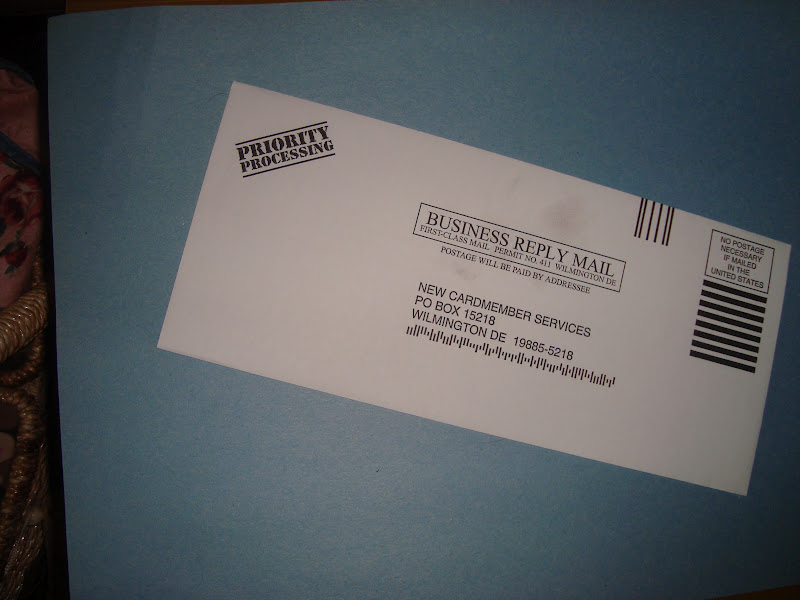
So this week I am bringing you a quick, easy way to dress up your mail while recycling the extra junk mail envelopes that come in your bills, credit card offers, etc.

It's a perfectly good, useful envelope other than all the stuff printed on it!

I use mine to mail smaller items when I sell things in my online store so I make sure to put my blog info on there too!

These can also be used for personal mail. Guess what, people love getting personal letters.
I like the "tag you're it" image I found in a magazine because it's a cute way to say " hey! write me back!" :D

This is such an easy project but I bet you hadn't thought of it!
Find nice images or patterns in magazines or other junk mail that will cover the spots on the envelopes that have writing/print on them and glue them on! Use markers, stickers, glitter, paint, etc to make the envelope your own!

Wednesday, May 23, 2012

Whip it Up Wednesday: Button Upcycle!

Just for fun this week, I decided to try and do something cool with these boring old button pins (remember these?) instead of throwing them away.

They have flat front sides which are perfect for collage/decoupage!

With a few helpful items such as stamps, magazine images (I've been collecting these for a while- can you say HOARDER?), Mod Podge (my hero!) I created some masterpieces..

I'm reading about Marie Antoinette right now so that was my inspiration for this "Let them Eat Cake" button. Did you know that it is actually not likely that she ever said that?

Apparently, the poor people longing for bread had been ascribing the phrase to hated monarchs and aristocrats long before she had the throne of France!

This is a distinctly Alice in Wonderland inspired Pin. I love how it looks like everything is spinning into the center (which is a clock face)!

An Elegant silhouette on black lace paper. Simple grace.

So here they all are!


This button pin is adorable!  How perfect: If wearer is found depressed, ADMINISTER CHOCOLATE IMMEDIATELY :)


Linking up to Jennifer Rizzo's Linky Party!
http://www.jenniferrizzo.com
Related Posts Plugin for WordPress, Blogger...