Showing posts with label decorate. Show all posts

Friday, April 18, 2014

DIY Birthday Board ~Never forget a Birthday!

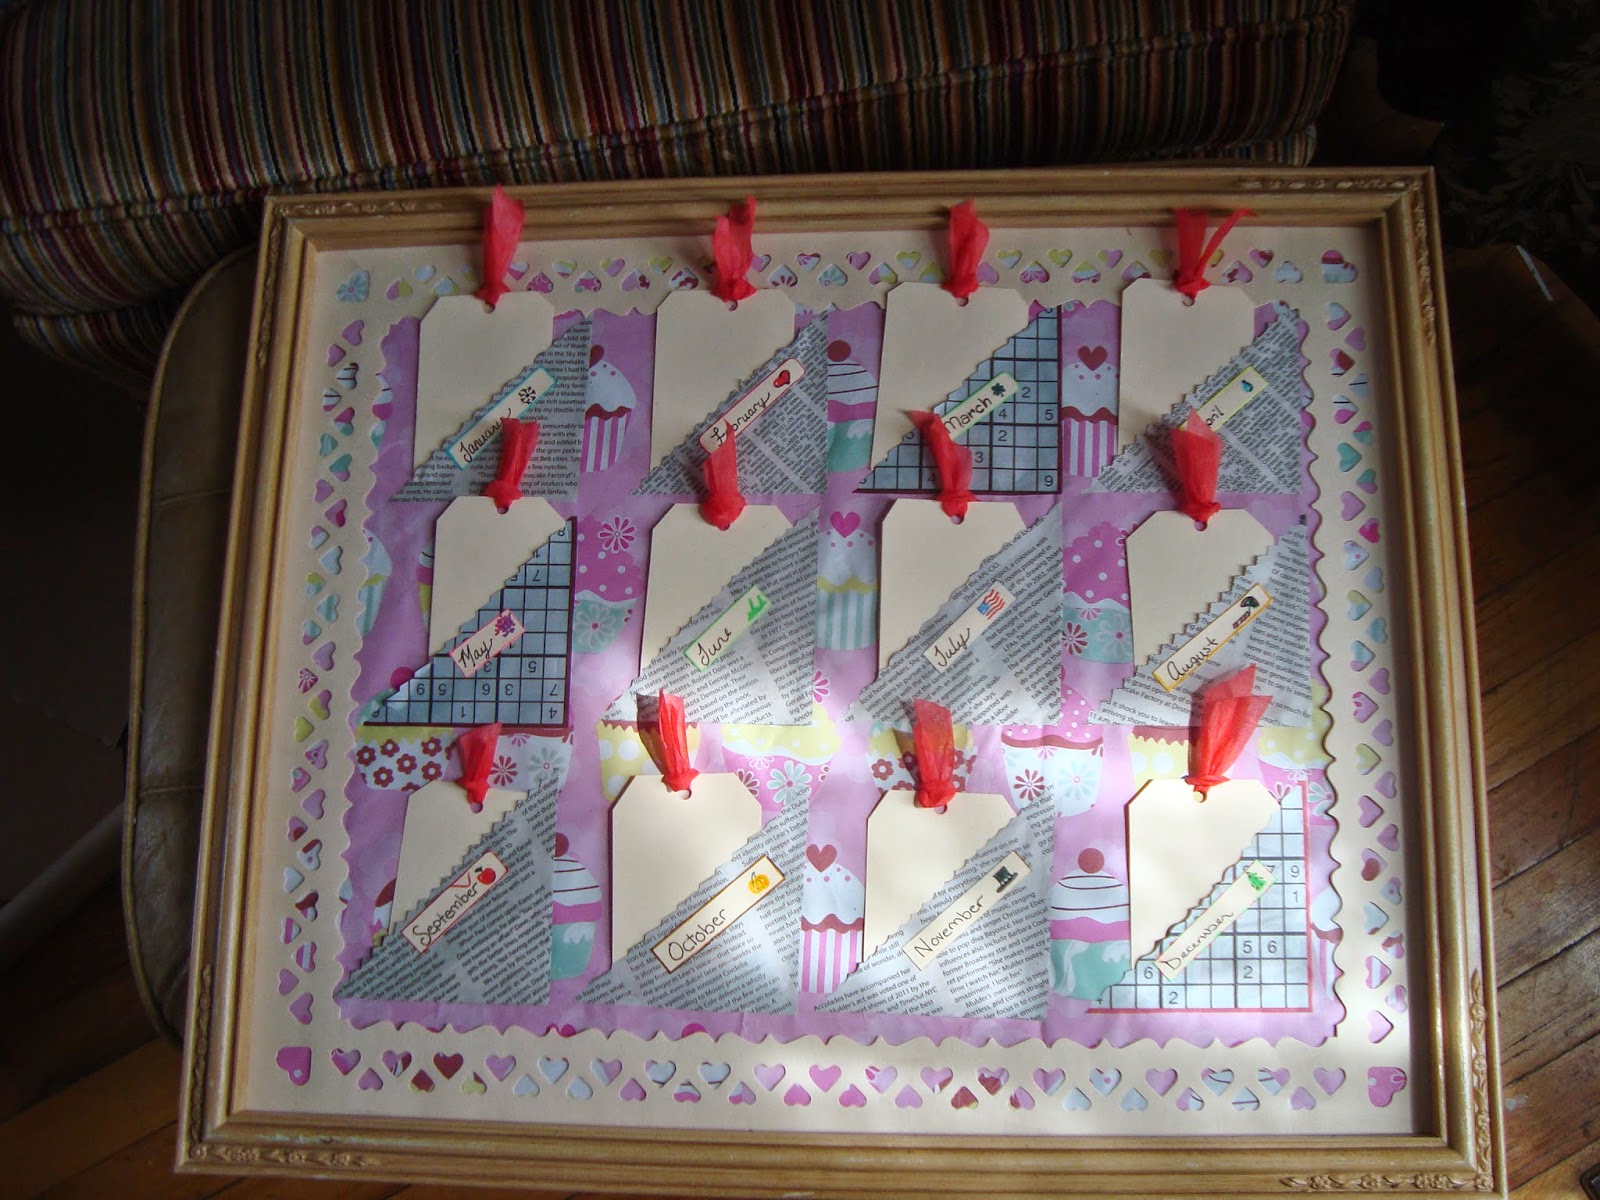
Found this fantastic frame at the Flea Market and knew I could use it for something! It even came with that pretty heart border~ what a steal!

I go gaga over details like this!

So I took everything out of the frame. The picture was on a piece of cardboard that I covered with some wrapping paper.

Now to use my other flea market find...decorative edge scissors (all four for $2!!!). Next, I cut out 6 squares 4"x4" ( I determined the size by the dimensions of my frame with the heart border in place, 16x12. Before cutting, figure out what size yours should be and how you want them positioned, etc). I used the decorative shears to cut each square in half diagonally.

Then I positioned them on the board like pockets and put glue just along the two edges ( the horizontal and the vertical edges). This way they are open on the diagonal so you can use it as a pocket!

Now for some tags! I cut my tags out of cardstock using a ruler as a straight edge (well, and to measure too). My tags are 2.5"x3.5". Punch holes in the tops and tie a cute ribbon through each one.

The tags fit in to the pockets. Each  pocket is a month of the year, so label the days on the tags and write in the birthdays of your loved ones.


Oh! I almost forgot! Make little cute labels for each month and glue onto the corresponding pocket. I used leftovers pieces of cardstock from making the tags and some markers.

Sunday, December 1, 2013

Easy Halloween Pumpkins

Here are my Halloween pumpkins!
I wanted to decorate my door this year so I made a Jack-o-Lantern that won't rot!

Some cardboard boxes were cut up into pumpkin shapes and decorated with construction paper. Easy, right?

Then I just glued some paper scraps on the back so I could run some string through them and hang it!

Sunday, September 8, 2013

Memory Jars DIY

We took a trip to Long Island recently and I just love collecting little pebbles and shells and such so I came up with a way to put these little gems to use!

It's such a nice way to save these little memories.

I found this great big shell which was lucky since I didn't think to bring a sand container along! The big shell didn't fit in my jar but it carried the sand for me!!
I came back from the trip to find the first of my homegrown 'maters all ready for snacking!

Friday, July 5, 2013

Patriotic Baseballs for a Festive Centerpiece

This is a project for those old baseballs. Mine was an old Red Wings ball.
I started by tracing 3 sizes (big, medium, tiny) of stars on the middle section.
Then I painted the background blue, carefully leaving the stars white.


As you've probably already guessed, the next step is to paint red and white stripes on the unpainted section.

I found it helpful to draw the lines before painting.

It looks great! Imagine a bunch of these in a bowl. Bam! Patriotic centerpiece.


Related Posts Plugin for WordPress, Blogger...