
Ingredients: see above ;)
2cp flour
4tsp baking powder
handful of uncooked whole oats (for fiber)
1cp lemonade drink mix
1/2cp-1cp of chopped strawberries
2 eggs
3tsp vanilla extract
1&3/4 cp milk


Happy Summer everyone!
 | |||||
| OHMYGOSH! These were so much fun to make. |
 | |
| But where do you see gnomes but in gardens? |
 | |
| Next up: get one of those handy, multi purpose wooden skewers (or you could use real plant stakes, but who does that?) and tape the cute little guy to it. Tape on the backside. |
 |
| Bah! Who can help but love this?! They are going to snazz up all the planters in my new apartment! |
 |
| This is my version of a sock animal tutorial I found on Pinterest. Theirs was a bear but mine is more cat like, don't you think? |
 |
| Mine is more baby friendly, though, with embroidered eyes and nose instead of using beads or buttons. |
 |
| Wheee! Here's the link to the tutorial: http://themetapicture.com/this-is-how-you-create-a-teddy-bear-from-a-sock/ |
 |
| Some of you may remember that we are converting the basement room into craft central for yours truly. Above is the folding basement door that I painted awhile back. What to do with the middle section? |
 |
| This. and what did I use? |
 |
| Gift wrap from the McKenzie-Childs Christmas gift from my lovebug last year! |
 |
| Just cut it, glue it and enjoy it!! |
 |
| All that work makes a girl hungry. Time for some pancakes? I think so. |
 |
| On my fab new Christmas griddle- the gift that gives back. lol. I LOVE LOVE LOVE it!!! We've been making everything on it- if I could make spaghetti on it I totally would!! Instead of milk, I threw in some eggnog for a nice seasonal breakfast ! |

 |
| Here comes the Christmas kitty! Gaston's 2nd Christmas and he was so excited about all the presents under the tree. In fact, we couldn't get him to leave them alone and had kitty scratches in the wrapping paper of several gifts! |
 |
| But the most exciting part of all was the Eggnog French Toast for breakfast. ..and here's all you have to do: add 1/4 cup of eggnog to 2 eggs and beat until blended. Dip the bread into the mixture (we just had regular sandwich bread but fancy it up with a nice crusty loaf of french bread) Then fry in a skillet or griddle on both sides to cook the egg. Sprinkle with confectioner's sugar and fruit, whipped cream, or maple syrup! |
 |
| Here's a purposeful repurpose for old calendars with beautiful pictures. Make them into gift bags for Christmas, birthdays, and other gift giving occasions! I made a pattern that can be adjusted for the size of your calendar page. Just draw it out on scrap paper first to make sure all the measurements work then cut out on the solid lines and crease on the dotted ones. |
 |
| You'll want to fold the top section down first. Then glue the side flap so you have a rectangle. Next, glue the bottom flaps to each other with the bottom side flaps tucked inside the bag. |
 |
| Then, you'll need to punch two sets of holes in the top flap that was folded over in the first step. |
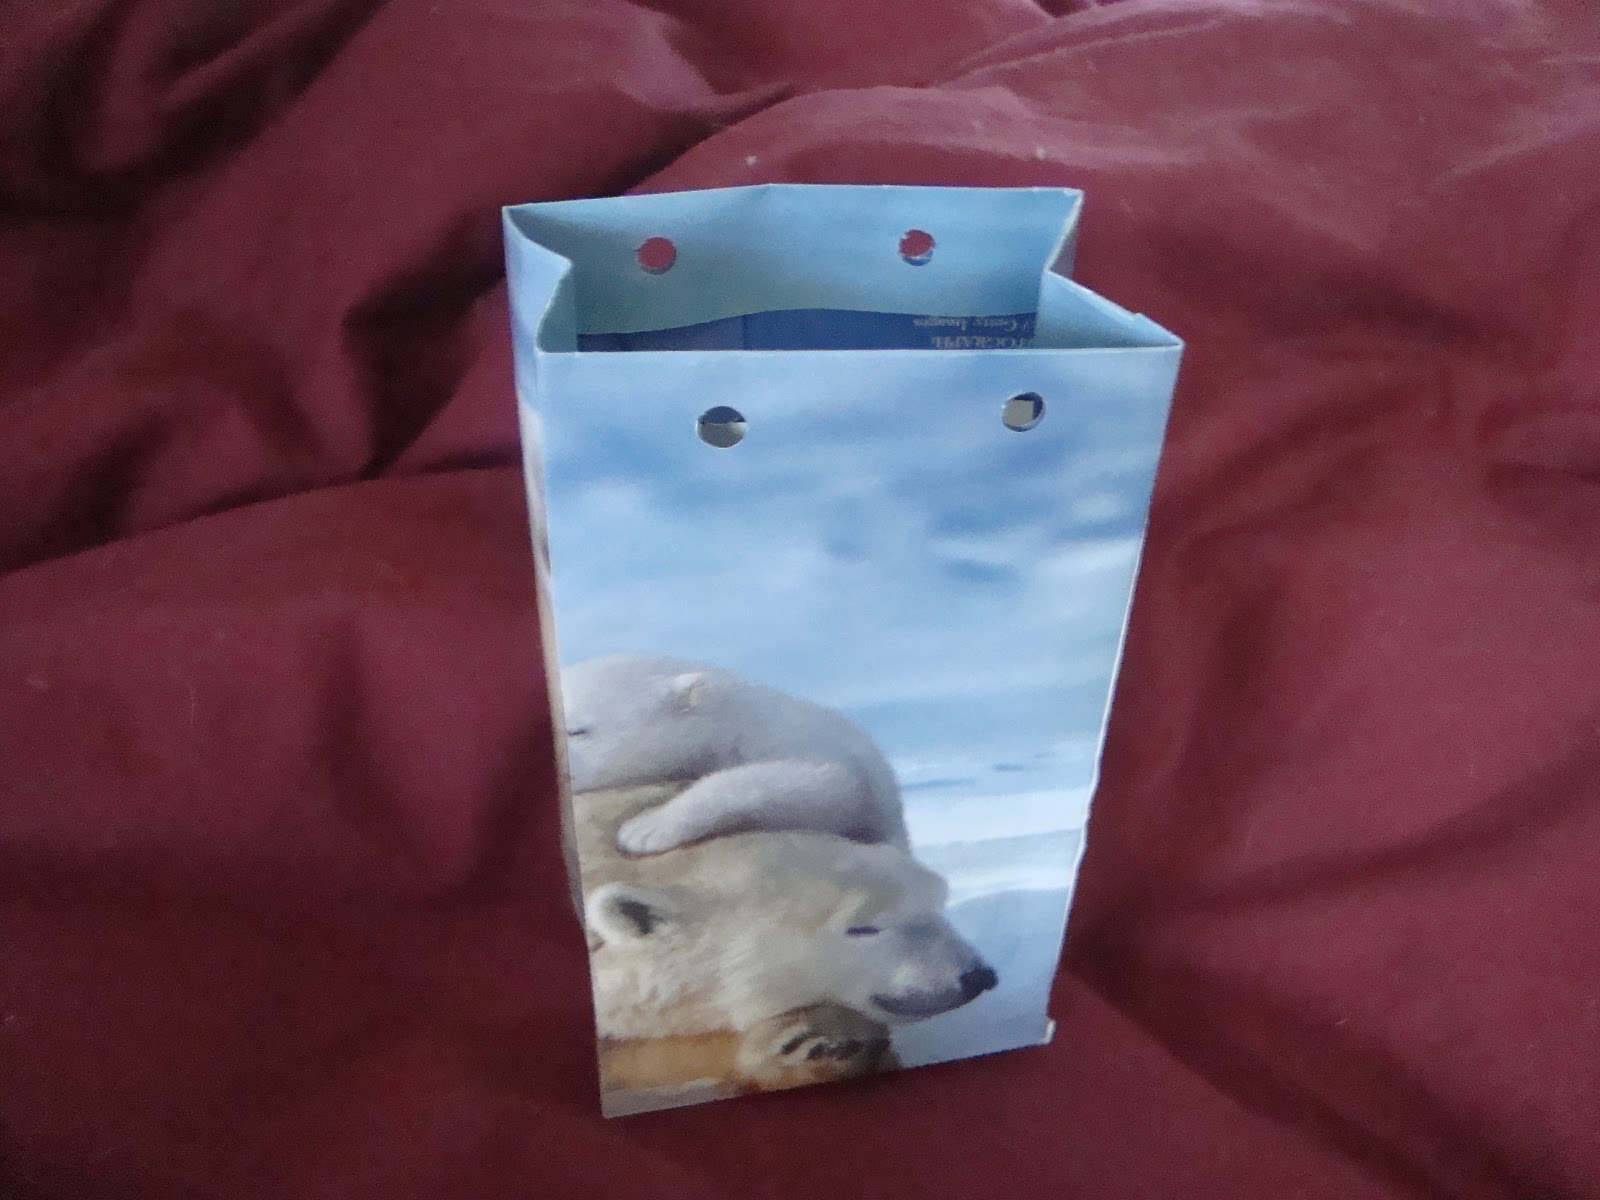 |
| I used shoelaces to make the handles but you can use whatever you like (yarn, cord, etc). Just tie the end like starting to tie shoes and string the rest through and knot the other end. Try to make sure the handles are the same length. This bag was pretty small but if you use more than one page and alter the pattern, you can make larger bags too! |
 |
| Mike's Christmas coasters I made getting some use already! There will be more Christmas posts to come including eggnog for breakfast recipes!! |
 |
| Here are the results of our pumpkin carvings. For my first ever pumpkin carving I cut out Tinkerbell and the other pumpkin is apparently up for interpretation. lol. Some folks think it's ET and others say Wallace and Grommit (neither of which are correct but who's to say?) What do you think it is? |
 |
| Not sure if these count as pumpkins but since it was warm enough to cookout this year at Halloween, we dressed up our burgers. They were getting jealous of all our costumes! |
 |
| And I had fun making delicious pumpkin cinnamon rolls from scratch. What's your favorite pumpkin yum yum? |


