Showing posts with label halloween. Show all posts

Sunday, November 8, 2015

Gone Batty

Here's the new banner I made this year. BOO!
I always enjoy decorating for Halloween. This year's party featured some new decorations!

I keep this up year round and just change the message on the chalkboard. Thank goodness for chalkboard paint! It turned this pretty shaped plaque into one of my favorite decorations!

This year I cut out some bats from black paper and pinned them up in my blinds. These were cool because you could even see them at night from the outside when the lights were on!

Sunday, December 1, 2013

Easy Halloween Pumpkins

Here are my Halloween pumpkins!
I wanted to decorate my door this year so I made a Jack-o-Lantern that won't rot!

Some cardboard boxes were cut up into pumpkin shapes and decorated with construction paper. Easy, right?

Then I just glued some paper scraps on the back so I could run some string through them and hang it!

Tuesday, November 27, 2012

Pumpkins, oh my!

 Oh my! is right! It's been awhile since the last post. I've been so very busy. In fact, I just returned from a trip to the west coast.

We had a lot of fun with pumpkins this past month, though, and here are some examples. Maybe you will get some inspiration for next year.
Here are the results of our pumpkin carvings. For my first ever pumpkin carving I cut out Tinkerbell and the other pumpkin is apparently up for interpretation. lol. Some folks think it's ET and others say Wallace and Grommit (neither of which are correct but who's to say?) What do you think it is?
Not sure if these count as pumpkins but since it was warm enough to cookout this year at Halloween, we dressed up our burgers. They were getting jealous of all our costumes!
And I had fun making delicious pumpkin cinnamon rolls from scratch.
What's your favorite pumpkin yum yum?

Thursday, October 25, 2012

Acorns for Halloween

Here's a fun DIY Halloween craft to make from acorns.

First, take off the tops and coat the nut with ModPodge.
Let dry and apply a second coat.

Next, paint them orange.
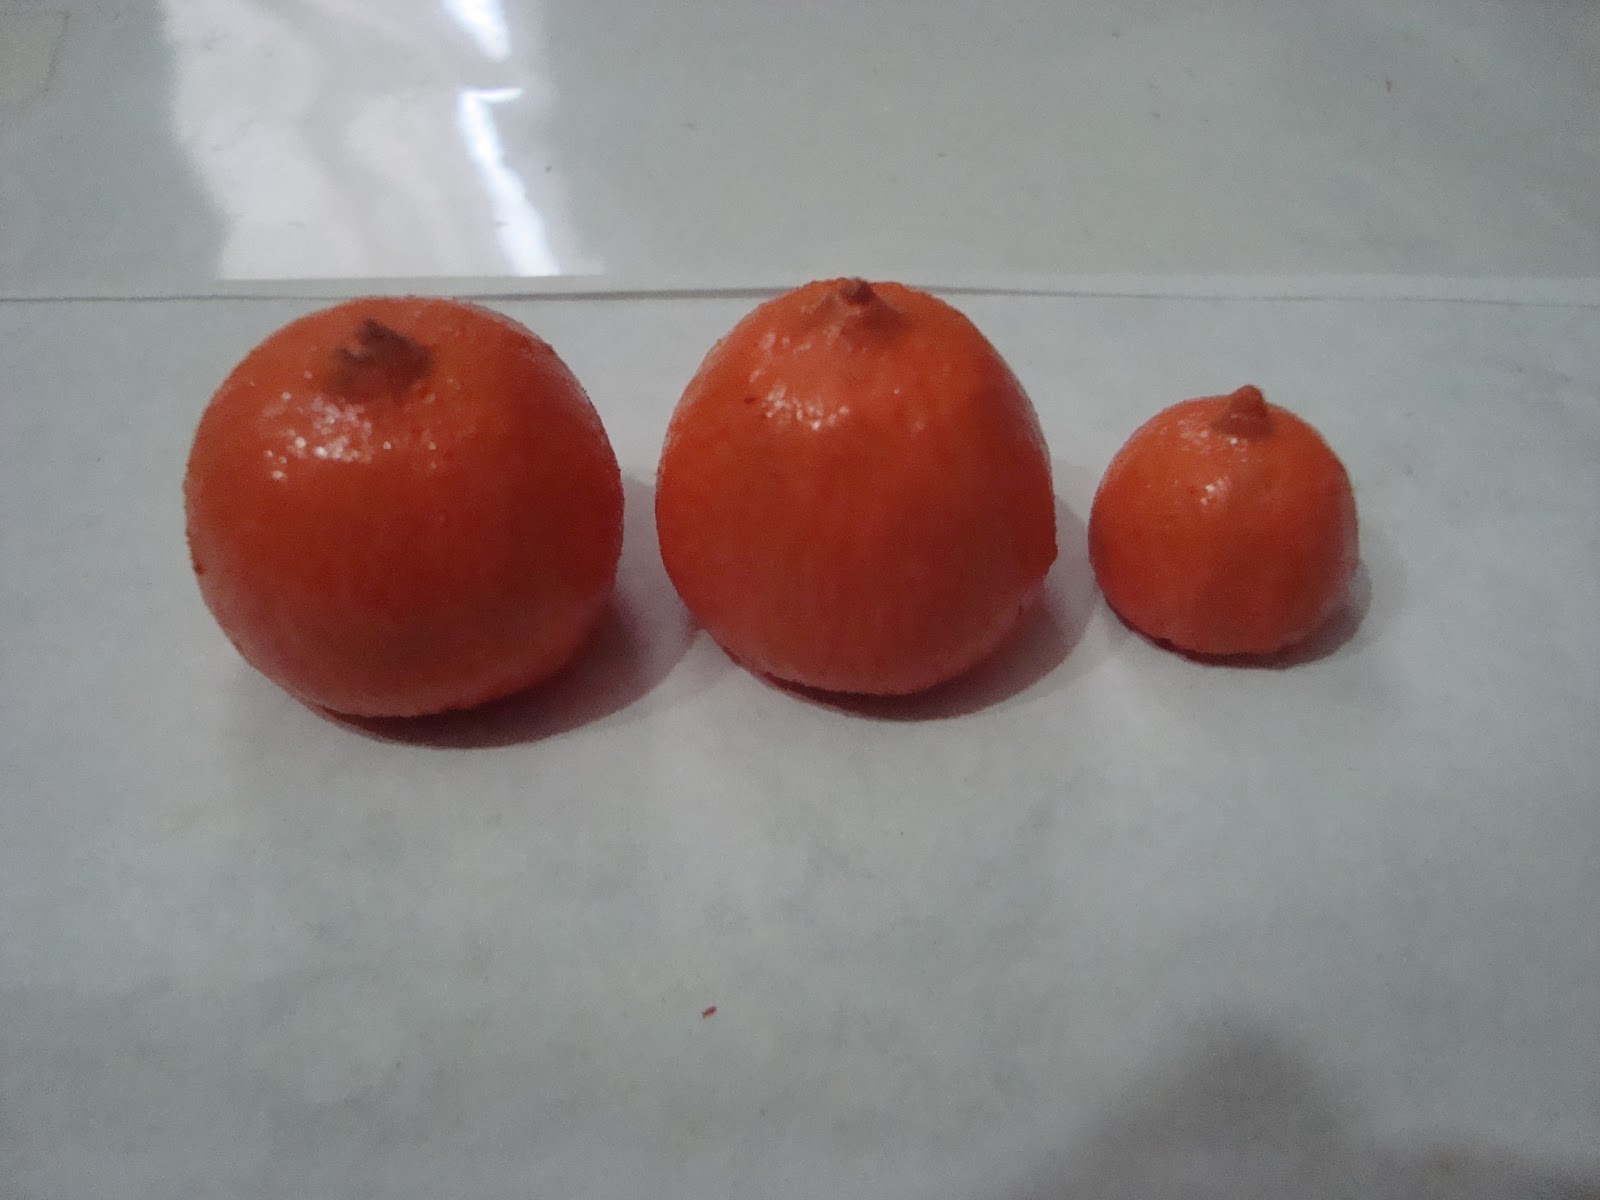
They already look like pumpkins!!

With a fine tipped brush, paint little Jack o Lantern faces on them.
OMGHOWCUTEISTHAT!!!!???
You could plant them all over the house, or dress up a dollhouse for Halloween, or put a bunch of them on display in a bowl...

Meanwhile, I will be carving my very first ever jack o lantern. GAH!! I'm so excited....:D
Happy Halloween all!

Monday, October 31, 2011

Candy Corn Cupcakes for Halloween!!

So here it is...the long awaited Halloween goodies I promised you all. Candy corn cupcakes!!
Ingredients: 1 box white cake mix
1cp. sour cream
1/2 cp vegetable oil
3eggs
1tsp almond extract
1/2tsp each of yellow and orange food coloring
white frosting-homemade or store bought(I have a link for frosting recipes below)

Put everything except the food coloring and frosting in aa medium bowl and stir until combined.

Put 1/2 of the batter into another bowl. Mix yellow food color into one bowl and orange into the other bowl.
Put cupcake liners in the cupcake pan and fill 1/3 of each cup with yellow batter. Try to smooth out the top so the layers will be nice and even.
Put some of the orange batter on top of the yellow. These cupcakes rose nicely. I filled the cups about 2/3 of the way.

Bake them for about 20 minutes at 350F . A toothpick inserted in the middle will come out clean if you are not sure. Let them cool before attempting to frost.


I'm fussy about frosting so I mixed up a nice, light vanilla frosting but here's a link to several different frosting recipes you can try:
http://www.cupcakeproject.com/p/my-ten-favorite-frostings.html
She has 10 delicious looking varieties there! YUMMO!
OMG! They are soooo Boo-tiful! I could even put a little candy corn on top for extra flair!


Saturday, October 29, 2011

Hemming too long jeans for Rosie the Riveter costume

I decided to be Rosie the Riveter for the Halloween dance and found these awesome sailor cut jeans while thrifting but they were waaaaaay too long! Oh no! says I, what shall I do? Take the hem up, of course.

This is what they looked like when I was done with them. Ahhhh.. much better! No tripping on myself while dancing! um, well no tripping on my pants anyway..

It was so easy! I have to admit, I was nervous never having done this before and all. But really, all I did was fold the cuff up and pin it. Then sew just beneath the original hem stitches (about where the pin is in the pic).

All that's left is to fold the original hem back down over the part that I stitched and iron it! Easy right?

There's Rosie on the left- but you knew that ;)

All the costumes were pretty fantastic but the Queen of Hearts was by far my favorite!
Have a safe Halloween weekend and be watching for my next post (trust me, it will be delicious, wink, wink).
Related Posts Plugin for WordPress, Blogger...